
Probably you have seen the classic "Tree Tire Swing" cartoon. It perfectly illustrates how the lack of communication and a structured way of expectations handover can lead to completely unacceptable outputs.

Through each step of handover, some level of deviation is added. The final result is something completely different from the main expectation.
The result? unhappy customers, wasted resources, and frustrated team members.
Despite decades of Agile practice, teams still struggle with this problem because they lack a concrete, step-by-step blueprint to fix it.
In this blog post, I explain how to resolve this painful issue.
Years ago, I put a lot of energy into this problem and researched deeply to see how we could resolve it. I found it. It’s not rocket science. It just needs a structured way of thinking and a method for preparing and bundling expectations to transfer the requirement specs to Developers precisely.
And now, with the advent of AI, this process has become even more powerful. I’ve dedicated significant effort to exploring AI potential for enhancing requirement handoffs, and the result is mind-blowing. You’ll see exactly how.
To understand the feature specs handover, let’s start from the end—when do you recognize misalignment and misunderstanding between the Product Owner and Developers?!
Typically, when you receive the final implementation. But how?
Imagine you are a Product Owner with a specific feature and its expectations in mind.
After Developers complete the work, you review it to discover any deviation from your original expectation.
Your first review usually focuses on the user interface, checking elements such as:
- Fonts and their sizes
- Typography
- Color
- Size of elements like buttons and text boxes
- The overall layout
- Responsiveness across devices
- Positioning of elements
- Images and videos used
- Effects and animations
- And more
Next, you examine the feature’s behavior, including:
- All interactive elements like buttons, links, and dropdowns
- How data is displayed: tables, lists, cards, pagination, sorting, and filtering
- Input validation: correct and incorrect inputs, error messages, and their placement
- Permissions and UI changes based on user roles
- Testing the happy path to ensure everything works as intended
- Testing all sad paths to confirm unintended scenarios are handled properly
- Verifying all business logic
- And other types of behaviors
This step-by-step review is the natural way to check whether a feature matches expectations.
So why does the final result often differ from what was expected?!
The main reason is usually insufficient effort upfront to document and communicate expectations clearly to Developers before they begin.
Commonly, Product Owners convey requirements through brief conversations or minimal documentation—an approach that often doesn’t work.
For a Robust feature specs handover, you should prepare at least two things:
1- Visual Design
2- Acceptance Criteria
We will refer to these together as Design Documents.
Learning to document these two elements effectively will prevent most misalignments down the line.
I want to emphasize that visual design and acceptance criteria are the minimum for a strong handover. You may also use additional documents to improve clarity.
Remember, there is also a formal document, Definition of Done, which covers broader product-level expectations like performance, security, integrations, and so on that are shared among features and teams should follow.
Visual Design
Visual Design is a reliable way to transfer our visual expectations for a feature to Developers. To show its value, consider an example. Suppose you want to install cabinets in your kitchen.

You have two choices:
1- Have a carpenter come directly and install without any prior planning or design. Naturally, you’d likely get a random, unsatisfactory result.
2- Hire a cabinet designer to measure your kitchen, create an overall layout draft, and then provide detailed plans. These specify shelf counts, placements for the sink, stove, dishwasher, oven, and refrigerator, plus colors and materials. This design could be on paper or digitally made with tools like Photoshop.
This approach offers these key benefits:
1- As the customer, you can adjust elements you dislike before installation, avoiding major costs.
2- Both you and the installer share a clear, mutual vision of the final result.
3- It eliminates rework after installation.
4- It prevents waste of materials and resources.
5- It ensures satisfaction by delivering exactly what you envisioned.
The lesson learned from this example is that while creating a design requires extra effort and patience, the return on investment is unquestionably worthwhile.
Visual designs are often categorized by their level of detail: Sketch, Wireframe, Mockup, and Prototype. The term “Fidelity” describes the precision and completeness of a visual design. It has two common levels:
Low-fidelity design (Lo-Fi): ideal for quick sketches, wireframes, and brainstorming concepts without focusing on visual details.
High-fidelity design (Hi-Fi): perfect for polished, detailed designs that closely resemble the final product.
Now, let’s check the various types of visual designs:
Sketch: A quick, freehand drawing that captures initial ideas and basic layouts. It is low-fidelity and used for fast ideation and brainstorming. It focuses on the overall concepts rather than the details. Think of drawing your idea on a simple paper.
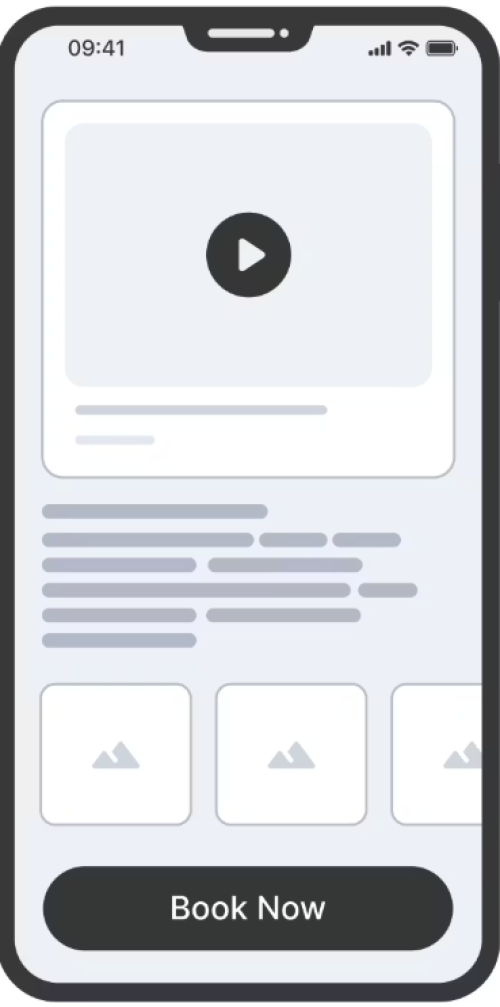
Wireframe: A basic, low-to-mid-fidelity design that focuses on the page structure, layout, hierarchy, and core functionality. It is typically grayscale and intentionally excludes visual details like color, typography, and imagery, allowing the team to focus solely on the user flow and arrangement of elements.
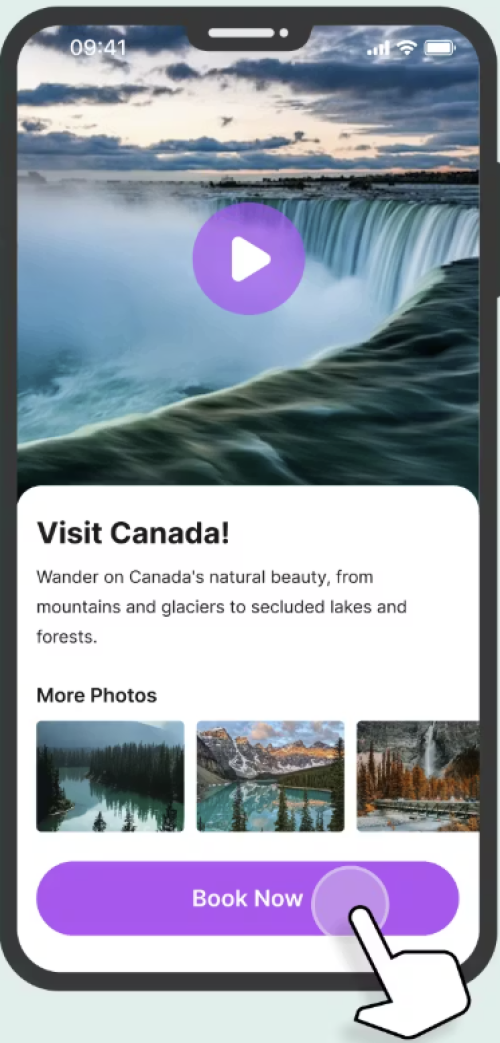
Mockup: A static, high-fidelity visual design that incorporates colors, typography, and branding. It represents the final look and feel but is not interactive.
Prototype: An interactive, often high-fidelity, design of the product that simulates the user flow and experience.
Many tools exist to help you create designs at different fidelity levels. Classic tools like Figma, Sketch, Balsamiq, Photoshop, and even PowerPoint. Recently, we've seen the rise of AI-powered design tools like Visily.ai, which is the primary focus of this course.
Low-fidelity designs—such as sketches and wireframes—require less effort to produce but convey fewer details to Developers. Conversely, high-fidelity designs like mockups and prototypes demand more effort, yet communicate much more detail. Therefore, you must make a trade-off decision based on your context, the effort you want to invest, and the level of detail required for a successful handoff.
Through ongoing inspection and adaptation, you will find your optimal balance.
Visily.ai

Visily was built to help non-designers rapidly turn product ideas into polished visual designs. The goal was to eliminate the steep learning curve of traditional tools, and in my experience, it succeeds—I was onboarded in just about two hours.
A key strength of Visily is to leverage AI to create a groundwork draft, handling roughly 80% of the work. You can then edit the result manually to refine, polish, and perfect the work. It can be seen as the last 20% of the work. This gives you full flexibility.

Additionally, you can use it for:
- Brainstorming
- Wireframing
- Mockup creation
- Prototyping
Happily, a free plan is available to begin with. When you need more, affordable paid plans exist. The first paid plan, for instance, is only $14 monthly—excellent value, and the one I personally use.
Their onboarding approach is unbelievable. The resources section on their website provides clear, concise materials to learn Visily. It is extremely simple, to the point, and effective. Try it to appreciate their efficient user onboarding process.
Furthermore, it offers several starting points to begin your design:
1- Start from a text prompt
2- Start from an external screenshot (like a website you admired)
3- Start from a pre-built template
4- Start from scratch
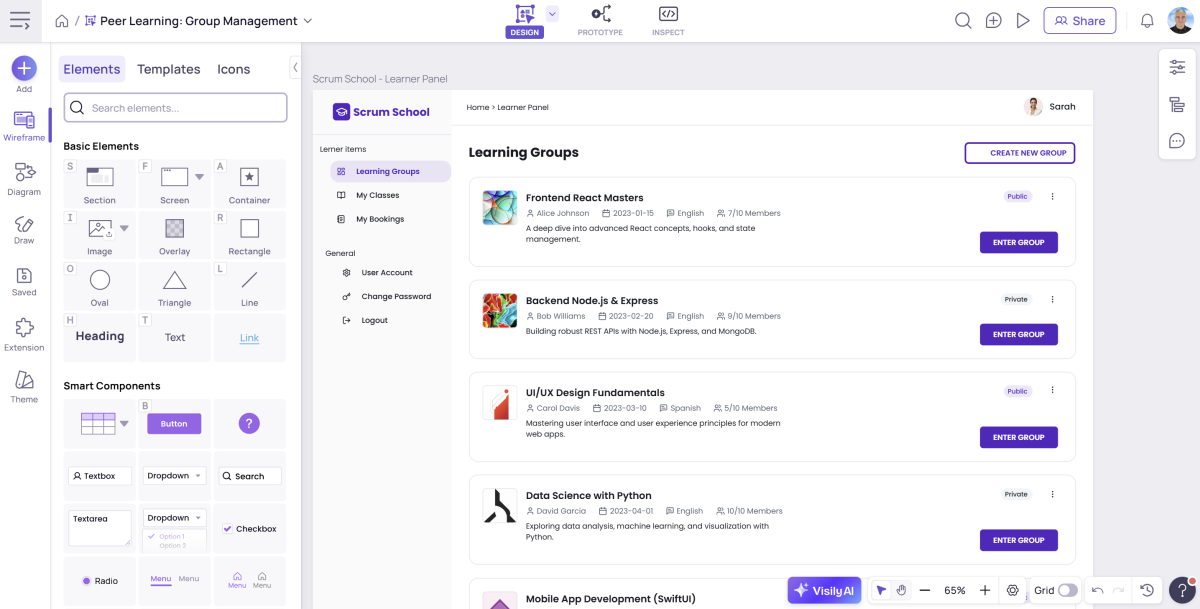
This is a snapshot of the Visily environment:
For this topic, I have created a free full video course that you can watch on this link: